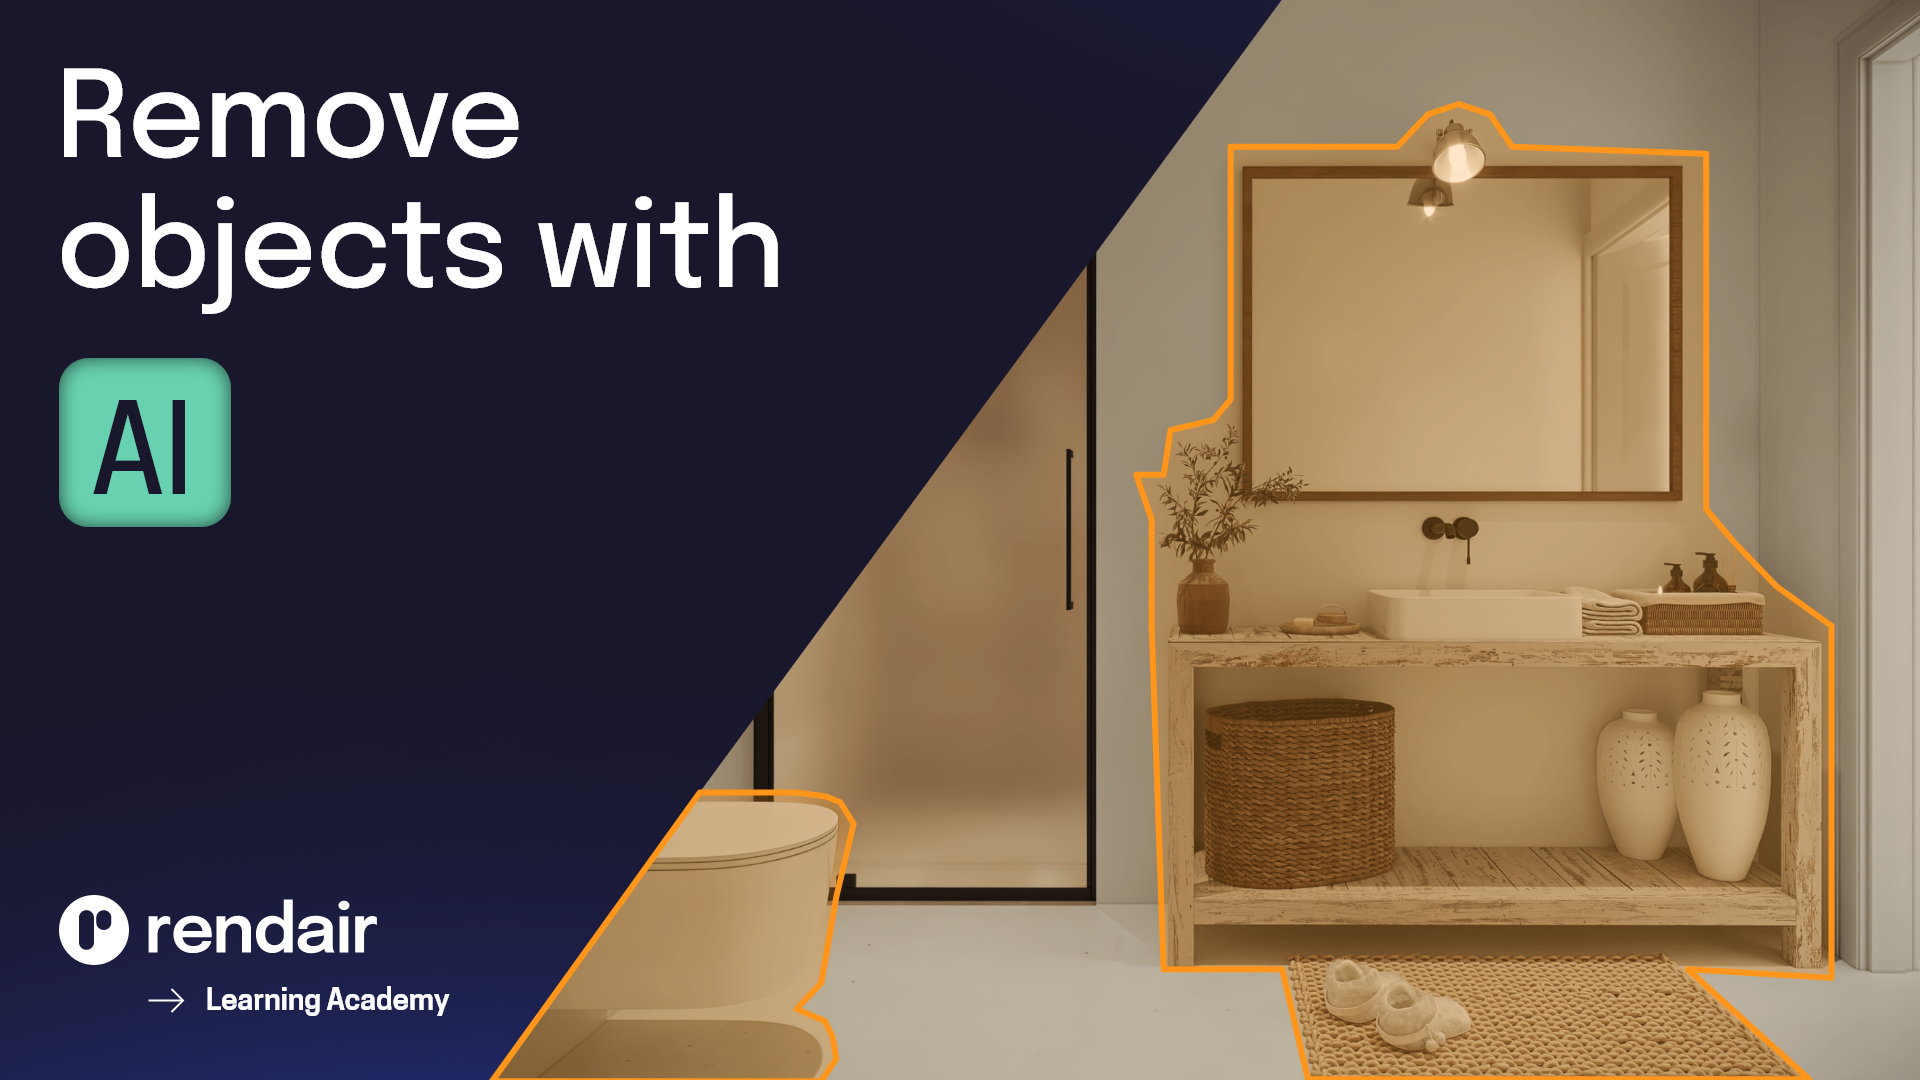
Remove Object Workflow with Rendair AI
Got a renovation project and need a photo of a space without furniture but you can’t take one?
Let’s take a look at how to remove objects from room images in seconds!
Watch the Tutorial
1- Go to Rendair.ai
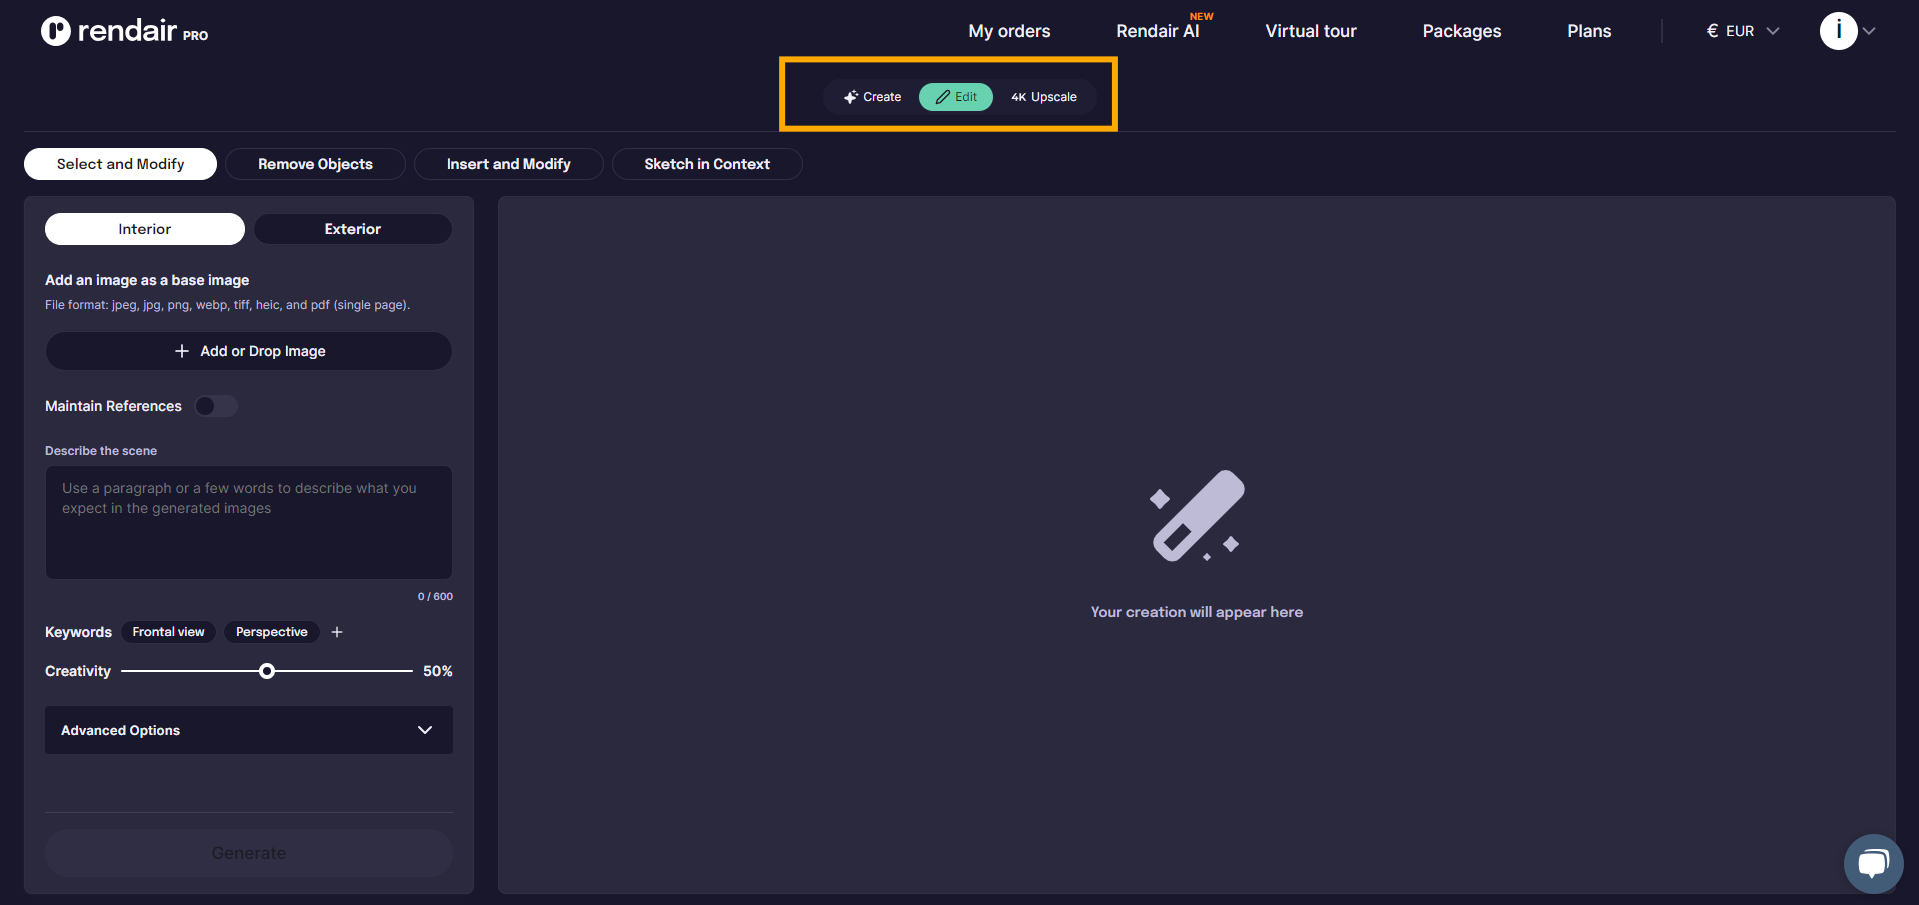
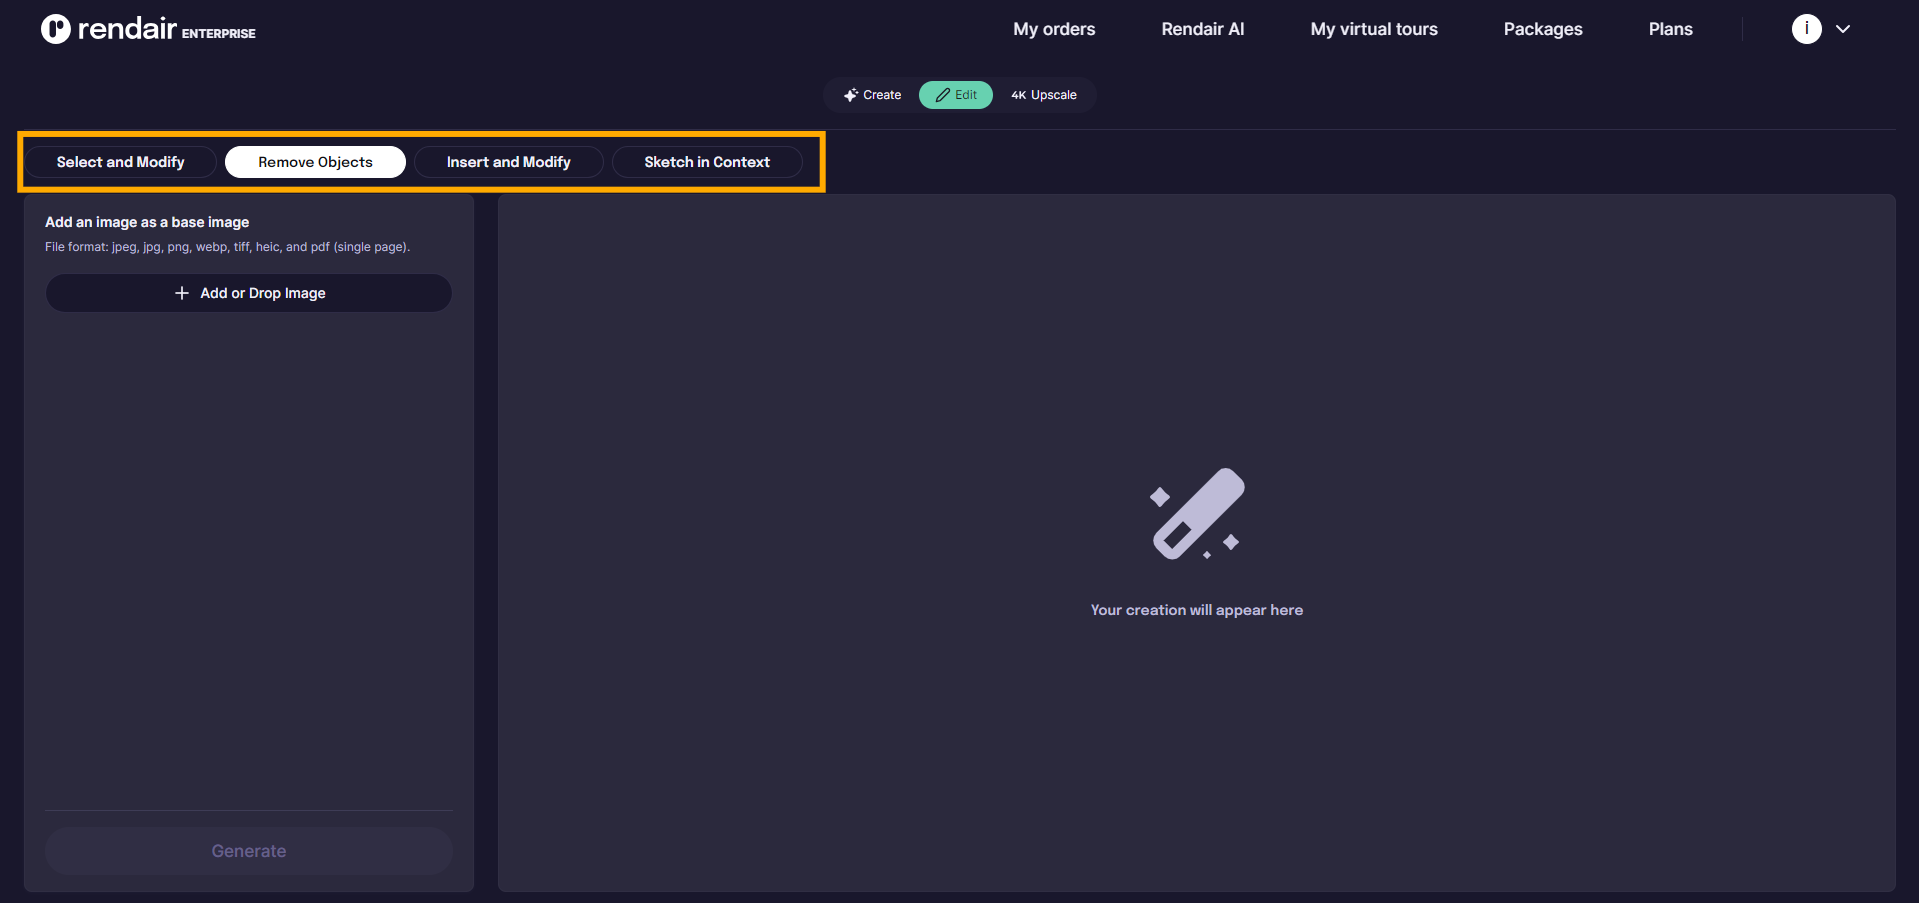
First, go to Rendair AI, where you will see three sections: Create, Edit, and 4K Upscale.
These sections are organized based on what you want to do on the website. Since we want to create something from scratch, we should go to the Edit section. Here, you can edit renders for post-production.
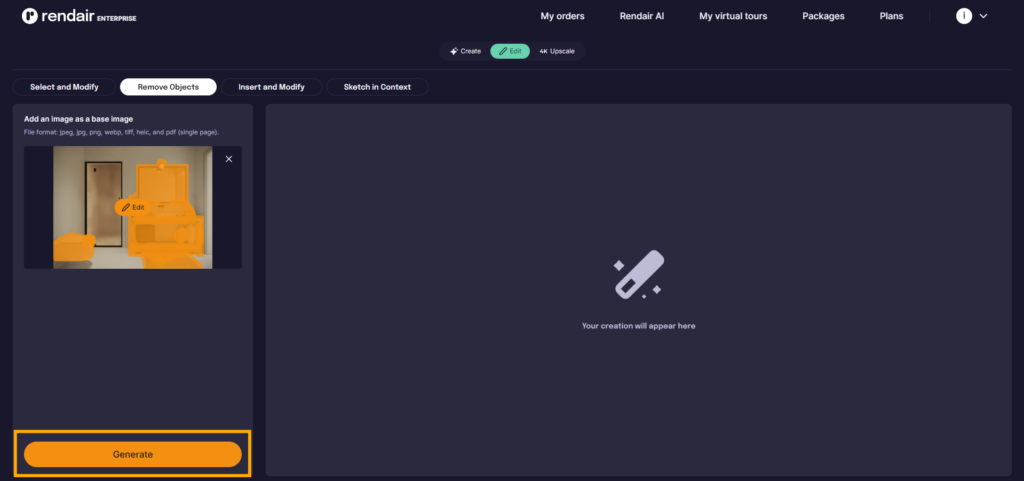
2- Choose Remove Objects
For this example, we will choose Remove Objects because we want to clean the room by removing all the objects.
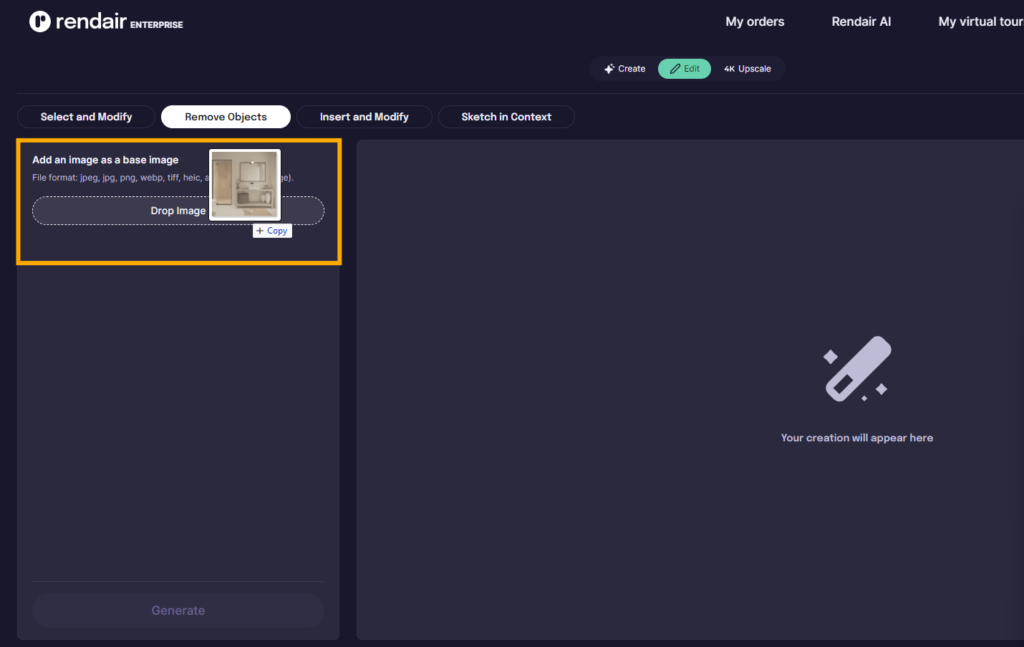
2- Upload the Base Image
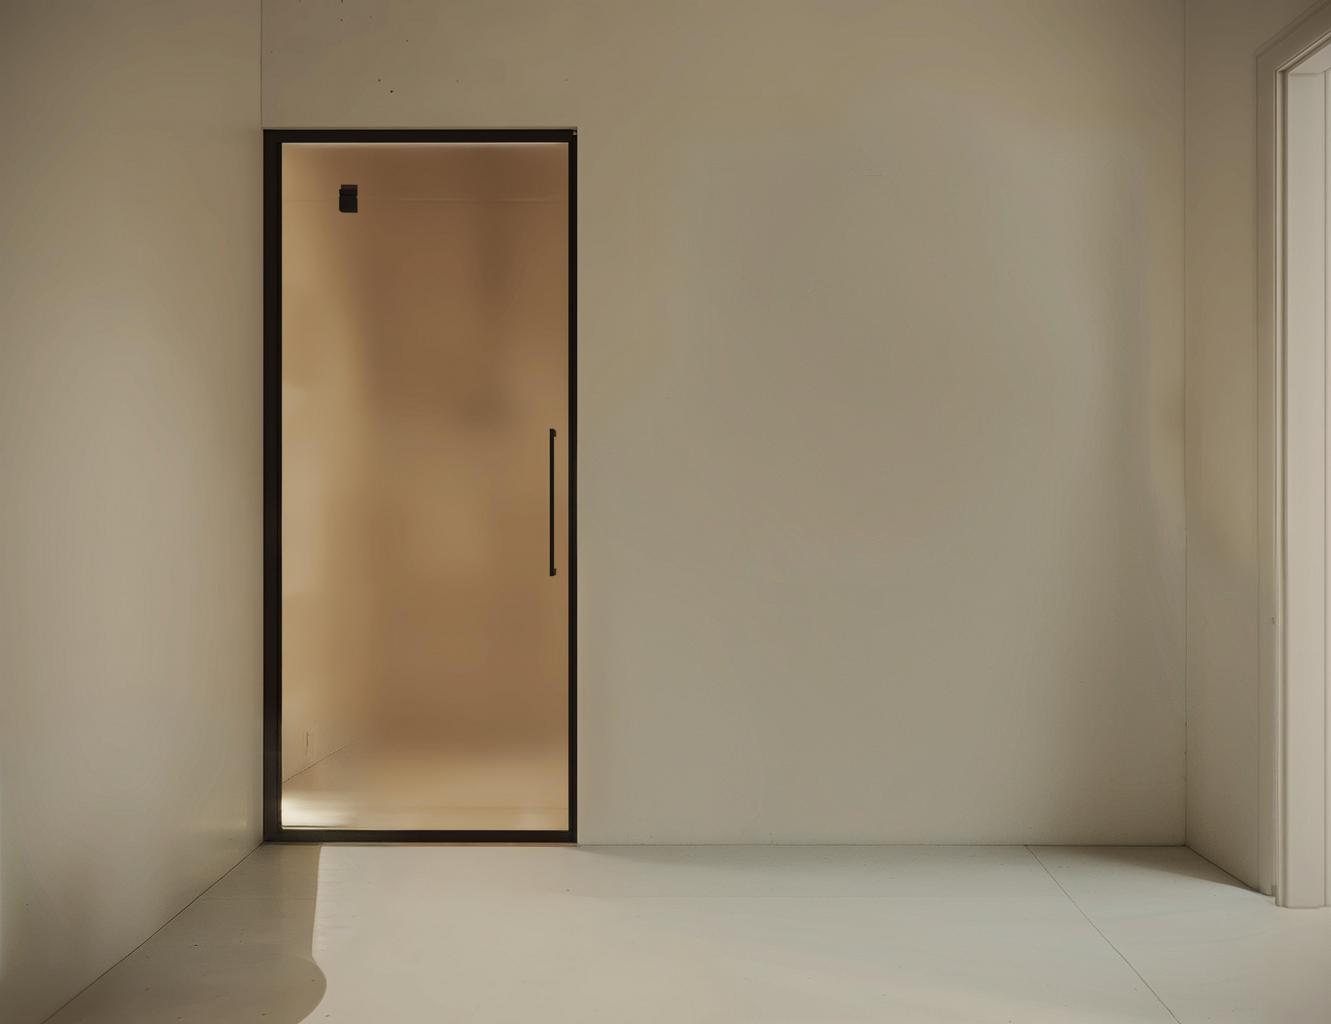
Next, upload the image. In this case, it will be the site location. Simply drag the image onto the website or click “+Add Image” to upload it.
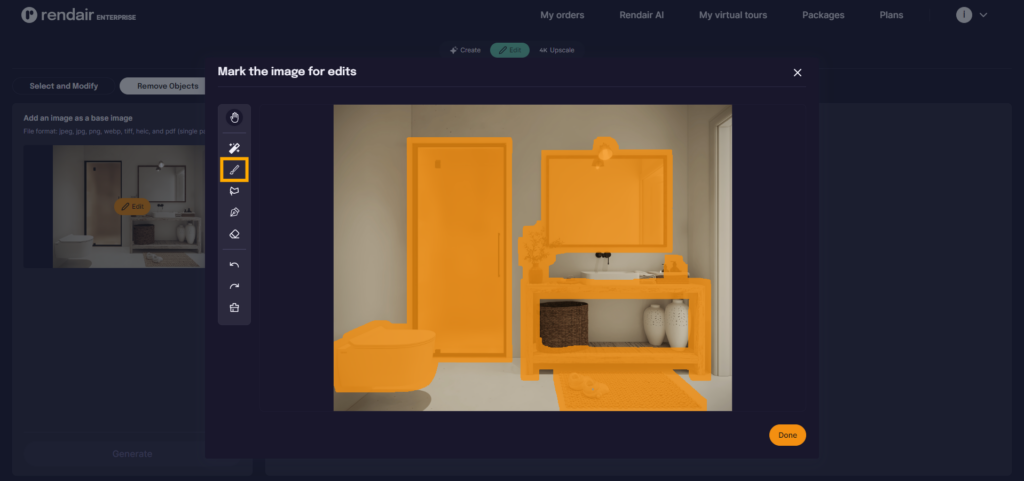
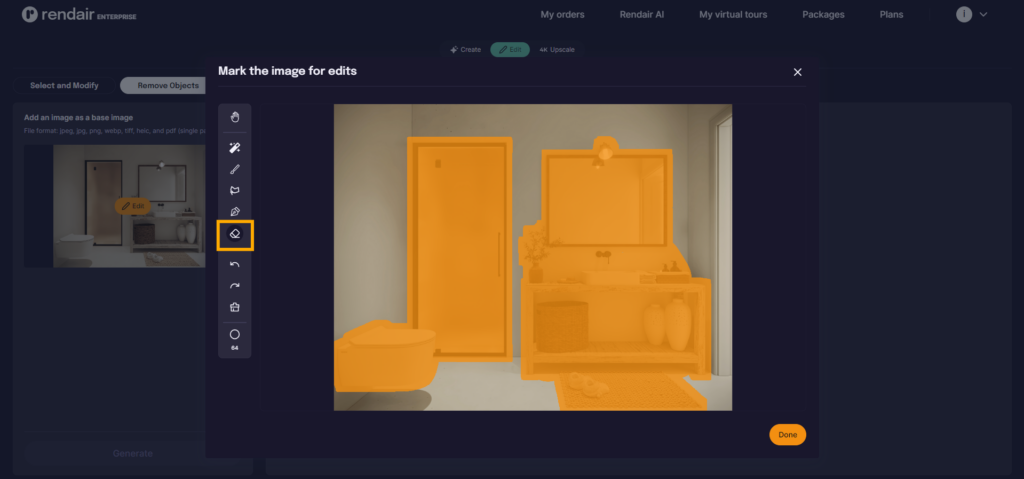
3- Select-Object to Remove
A pop-up window will open for you to select objects. Rendair AI will automatically select all the objects that it can find on the image.
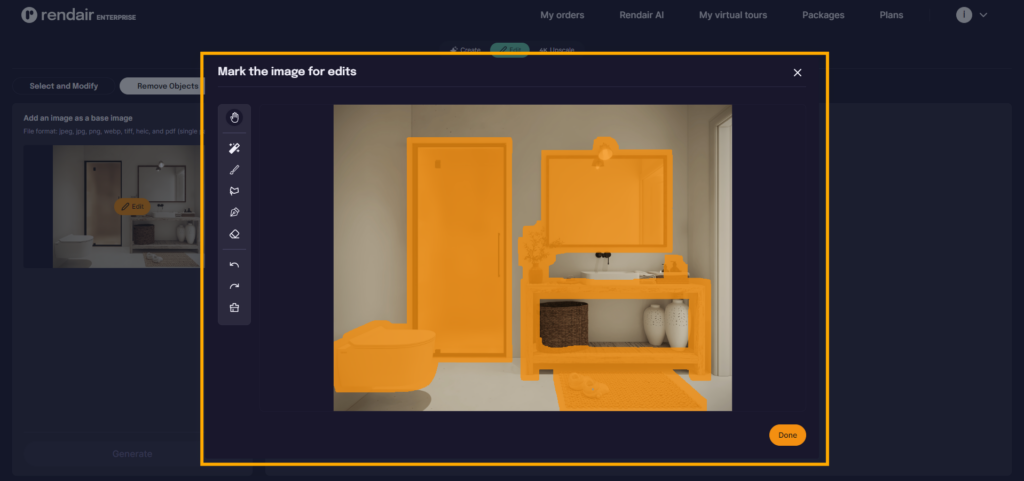
You can simply correct its selection. In this case, I will correct under the sink by using the brush I will mask that area. Then I will choose an eraser and delete the mask over the door.
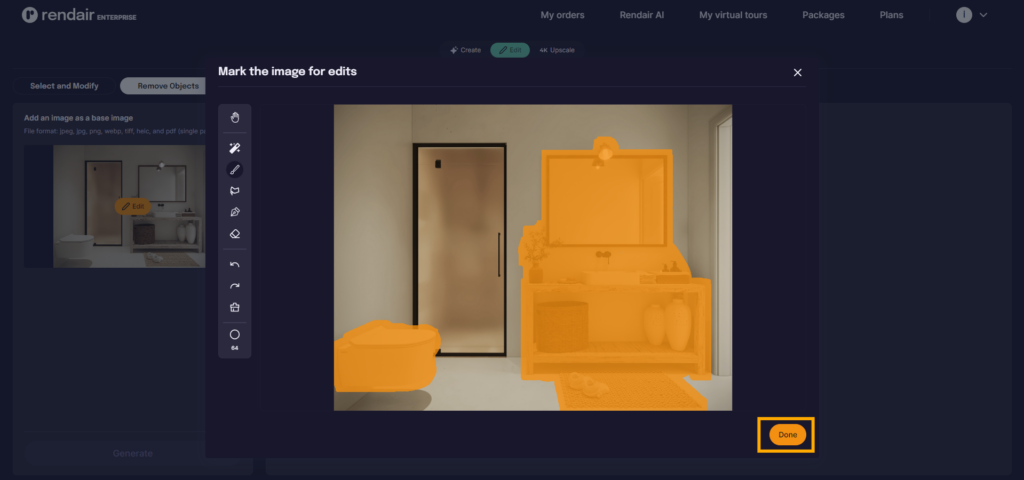
4- Hit Generate
Now we are ready to create our first image. Let’s click generate:
Here is the first result;